
Using TaylorTailor PDF Patterns
So, you just purchased a TaylorTailor PDF pattern and you are excited to get sewing! The following directions will help you print your pattern at home and assemble it. After receiving your PDF files, open them using a PDF reader such as Preview (Macs) or Adobe Reader (PC and Macs).
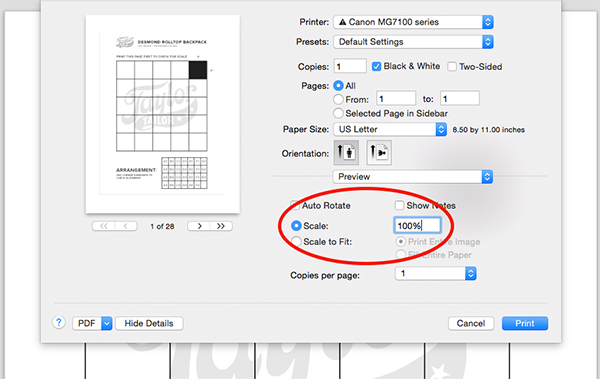
Selecting File then Print should open a print dialog box similar to the one above. Depending on the application with which you open your files, and depending on your printer, the box may look a little different, but the options you need to choose should be the same.
The pattern is designed to print on US Letter or A4 paper. The directions are in a separate file from the pattern, and printing the directions is optional if referring to a computer or tablet screen is preferable to a printed copy.
You want to make sure that the pattern file is printing at 100%, not above or below 100%. Some printers will try to shrink or expand a file to fit on the page. This will distort the pattern so make sure your printer is set to print only at 100%. I always check the Black & White option as well to save my color ink.
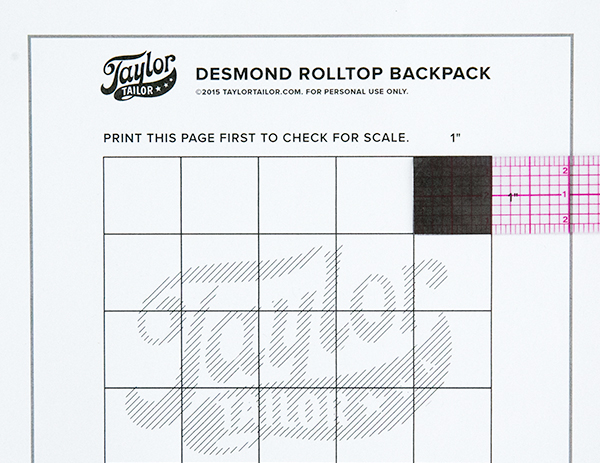
Print page one of the pattern file first to make sure your printer is printing at the correct sale. The squares on this page should measure 1″ x 1″ exactly. Once you are certain that your printer is printing the pattern at the right scale, then print out the rest of the pattern.

There are gray cutting guidelines on each page. Trim away the right and bottom edges of the paper on every pattern page. This will help with assembling the entire pattern.
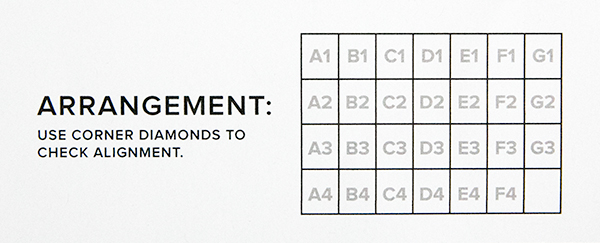
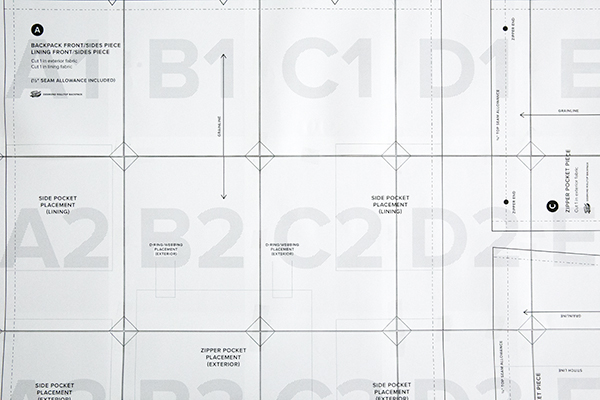
Using the layout key on page 1 of the pattern, begin taping the pages together. I like to start with the top row. Tape A1 to B1, B1 to C1, etc., until the entire row is connected. Then move on to the second row, connecting A2 to B2 and so on.
Once each row is assembled, connect the bottom of the A1-G1 row to the top of the A2-G2 row.
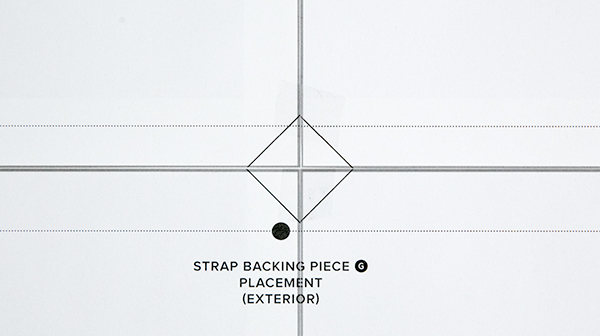
Use the diamond shapes that form where four sheets of paper intersect to help with alignment.
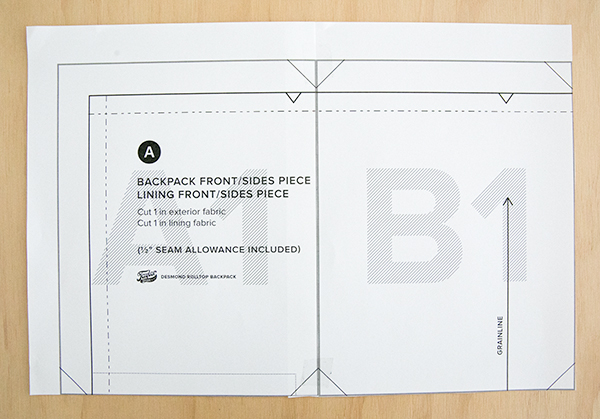
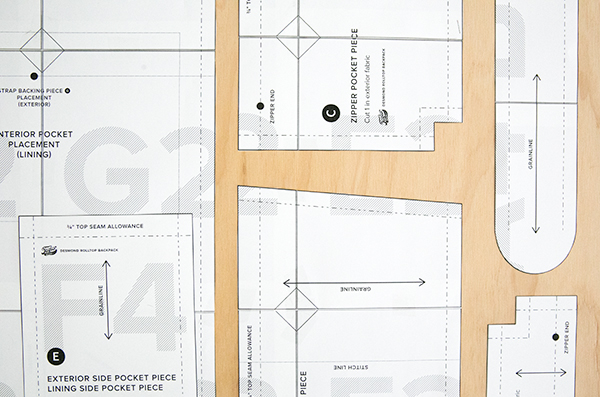
Here is what the pattern should look like when assembled. (part of it anyway)
Then cut out each pattern piece. I suggest taping over any cut lines that span two sheets of paper before cutting. I also suggest flipping each pattern piece over and taping down the paper flaps on the back side. This will help prevent the flaps from snagging on each other and the edges of your cutting surface.
At this point, you are ready to cut out your fabric. Happy sewing!