
Desmond Backpack Sew Along Step 10 – Strap Hardware
We have arrived at the final step of the Desmond backpack sew along. This has been a ton of fun for me, and I’ll admit I’m a little sad to be concluding my first sew along for my first pattern. That being said, I’ve thoroughly enjoyed the process, and I love seeing all of your packs coming along and taking shape. If you use Instagram, be sure to tag your photos using the hashtag #thedesmondpack. You can search the hashtag to see how other people are interpreting the pattern, and various construction photos that I’ve been posting.
We need to do a couple of things to our webbing and hardware to make the pack fully functional.
Roll top slides and clips
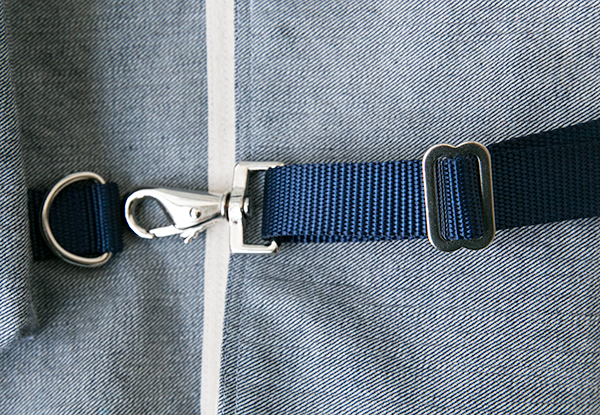
To make the backpack close, we need to install the snap hooks and slides. Feed the end of one of your roll top straps through a slide, then under and over the snap hook opening. The view below is of the top side of the strap.
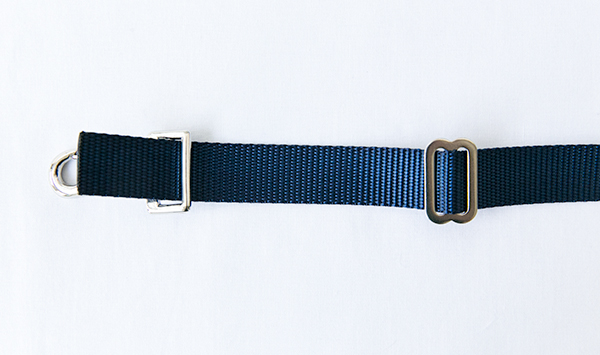
Continue feeding the end of your webbing back through the slide over the first layer of webbing.
Repeat for both straps.
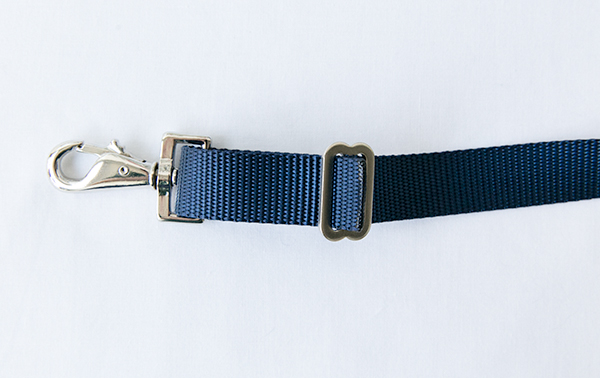
Here is the backside. Both layers of webbing are fed through one side of the slide. This is a little bit different than how a slide normally works, but this method allows for a simpler installation with less webbing.
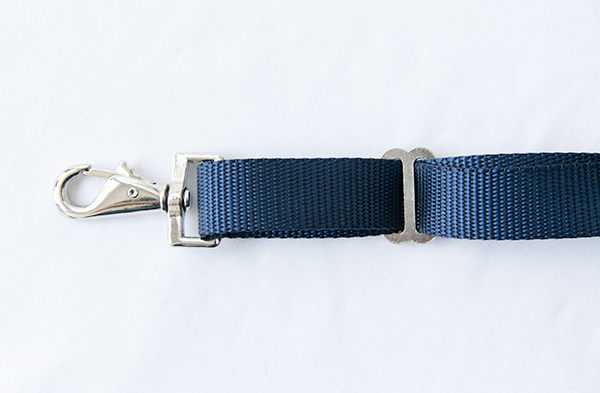
Here is the completed front side.
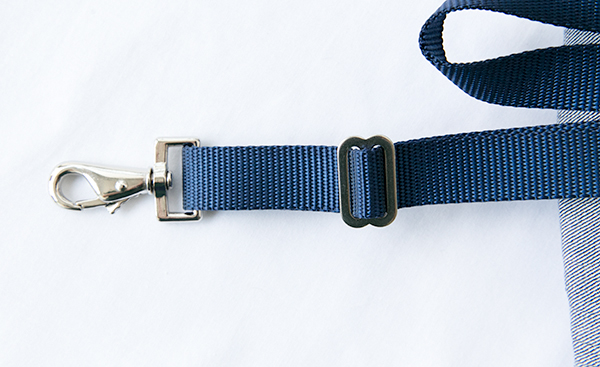
This makes the roll top straps adjustable. I suggest using the pack for a while to see if the roll top straps are the right length for your individual needs. I’ve purposely built in a little extra length to these straps so that they can be shortened if necessary. You have the option of sewing a loop at the end of the webbing (image towards the end of the post) or leaving the end of the webbing flat. If you are using natural fiber webbing, sewing a loop is probably a good idea so that you can hide the raw end of the webbing. The ends of synthetic fiber webbing like the nylon I used can simply be melted with a lighter.
If you do sew a loop, note that you will no longer be able to remove the slide or snap hook without ripping out your loop stitching, so make sure they are installed correctly before sewing a loop at the end of the webbing.
O-Rings
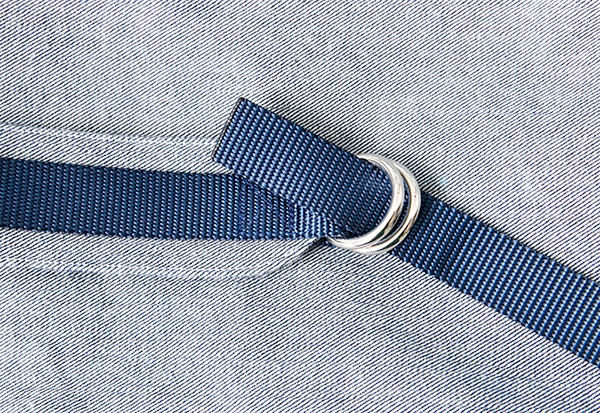
Bring the lower strap up through the back side of both O-Rings.
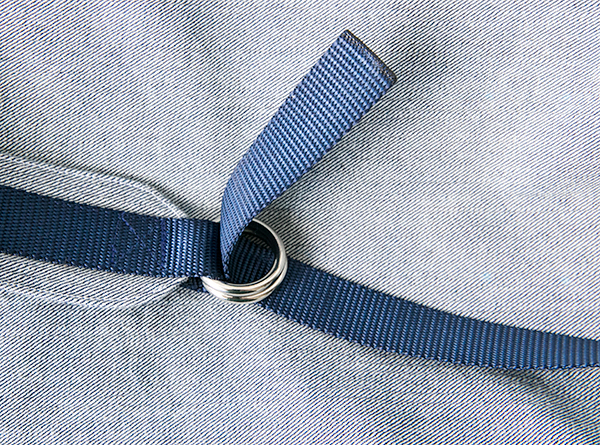
Then bring the strap down in between the two rings and pull tight.
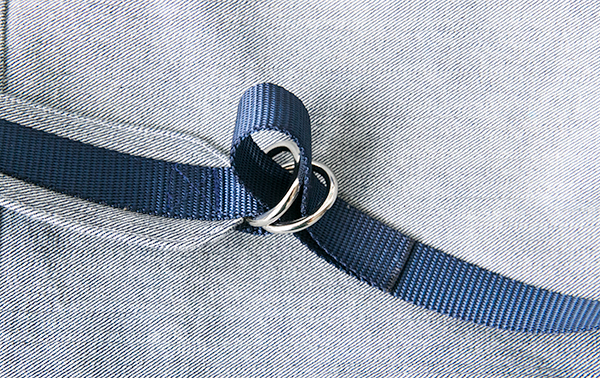
Tension on the strap holds everything in place.
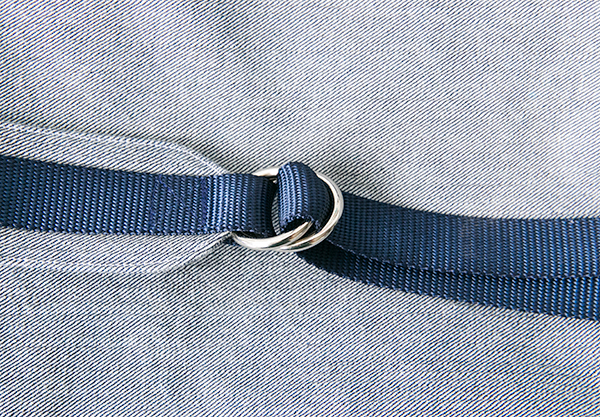
You can shorten these lower straps if necessary.
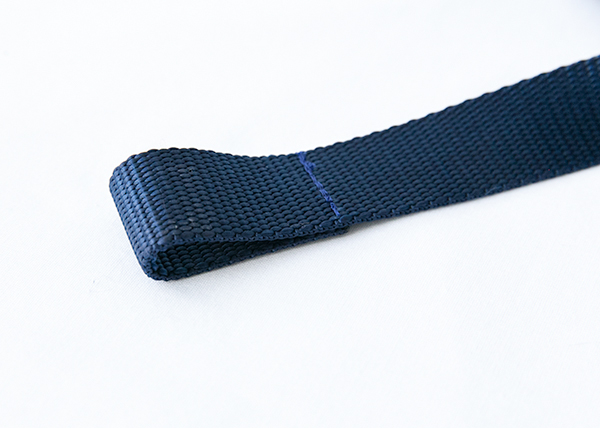
Once proper strap length is established, fold over and stitch a loop in place at the end of each lower strap.
If using natural fiber webbing, for both lower straps and roll top straps, you can double fold the ends of the webbing 1/2″ and stitch in place, which will help hide the raw end of the webbing.
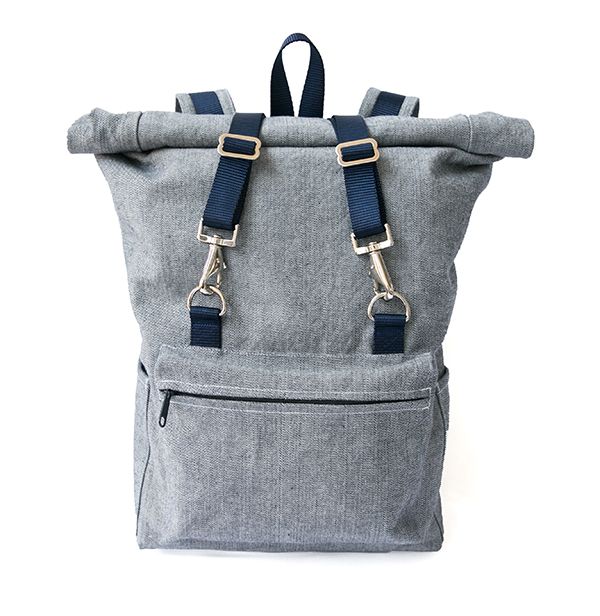
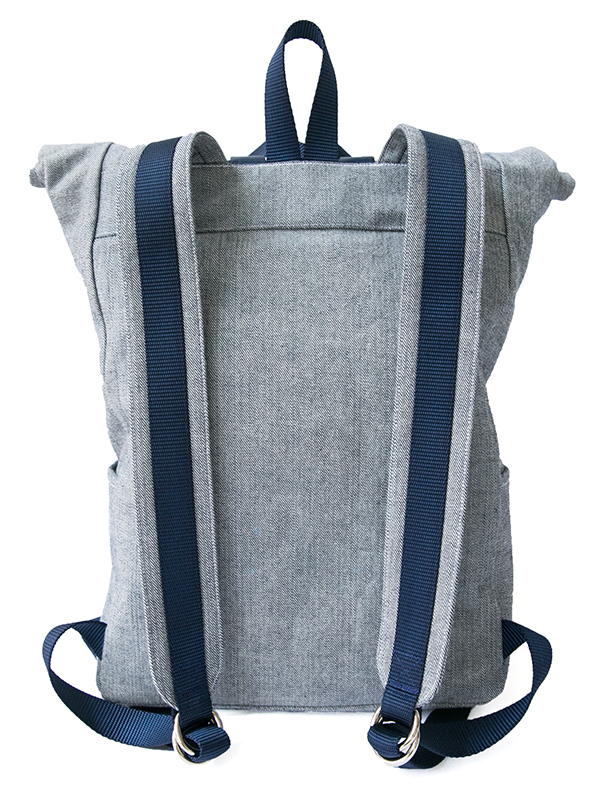
WE ARE FINISHED!!!
I greatly appreciate everyone who has purchased the pattern and has been following along. Finally releasing the pattern and seeing people enjoy the process of making their own backpack has been an amazing experience for me. So thank you for the support!
Just because the sew along is over, that doesn’t mean the fun has to stop 🙂 These posts will be up indefinitely to help anyone who wants to make the backpack in the future. The pattern is available in my Supply Shop.
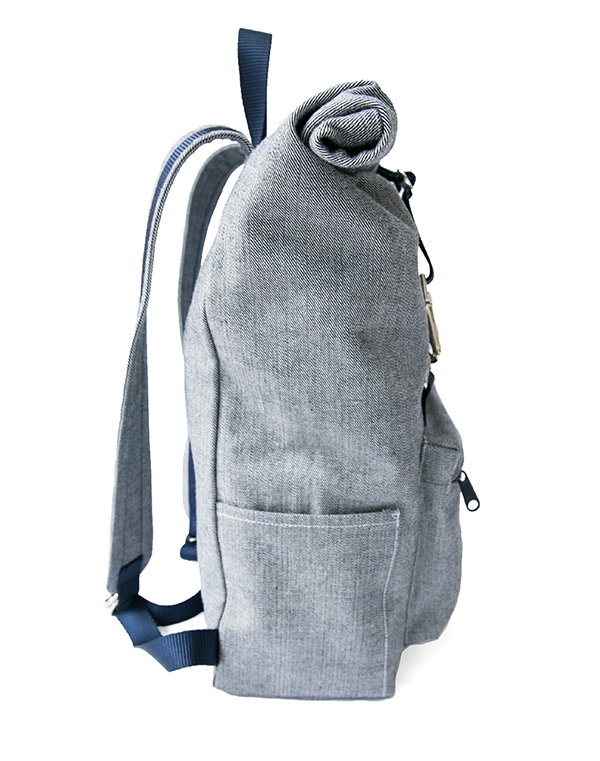
Oh, and here is my finished pack!
looking good!!
I have just come across your fabulous site as the sew-along has reached completion…. I am delighted that you will keep the posts visible as I know my partner would love a version of the backpack – and I’m looking forward to trying it!… Many thanks for the great design and instructions.
Hi Taylor,
I have just finished this bag. It is my third sewing project, but my first big/major project behind a machine. Thank you for empowering me to sew my own bag with your very clear instructions and sew along.
Hi there!
I’m thrilled that you enjoyed sewing the bag! Good luck with your sewing adventures, and always feel free to get in touch if I can help with anything.