Free Wine Tote Pattern
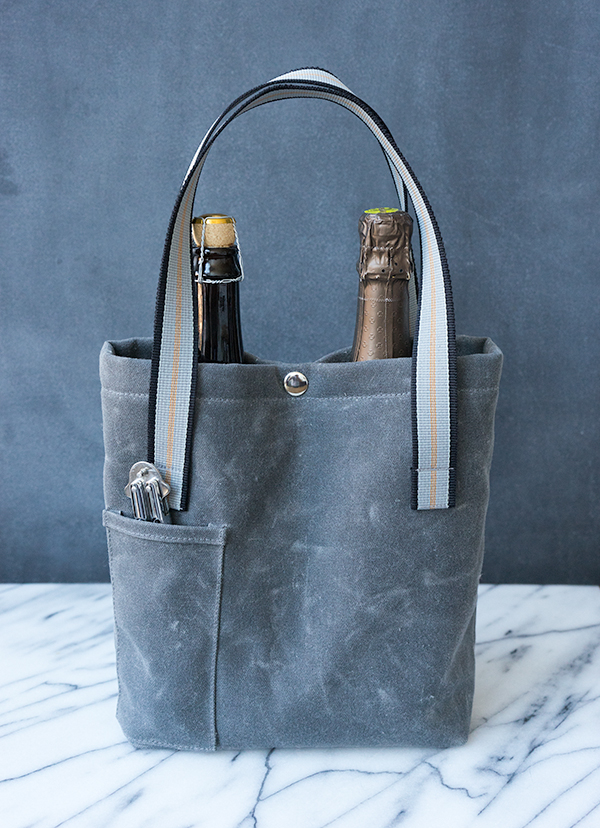
This wine tote is perfect for bringing a couple bottles to a celebration with friends and family. Better yet, make it as a gift for your host/hostess and fill it with your favorite beverage. Download the free pdf pattern and follow along!
Fabric and Supplies
I used heavy waxed canvas for the exterior of my tote. I chose it for its durability, and I love how this type of fabric changes and develops over time. Each crease and scratch adds to the character of the fabric. I would suggest using a sturdy bottom weight fabric like denim, home decorating fabric, or canvas.
For the lining I used a thick cotton table felt, sometimes called silence cloth or bump drapery interlining. I would suggest using something soft that will provide padding for glass bottles like table felt, fake fur, or fleece.
Exterior fabric :1 piece, 12.5” wide x 32” long (or a little larger for easy cutting)
Lining fabric :1 piece, 12.5” wide x 26” long (or a little larger for easy cutting)
Webbing: 2 pieces, 24” long
Heavy duty snaps :1 or 2, 1/2” – 5/8” wide
Pattern and Fabric Prep
Step1. Download and print the free pdf pattern. Make sure your printer is set to print at 100% (not above or below 100%, otherwise the size of the bag will be incorrect).
The pattern will print on four sheets of regular printer paper. There is a 1” scale square on page one. The square should measure exactly 1”. Each page has a gray border around the pattern. Trim off the right and bottom edges of each page, and then tape the pages together using the diamond/triangle shapes to align the pages.
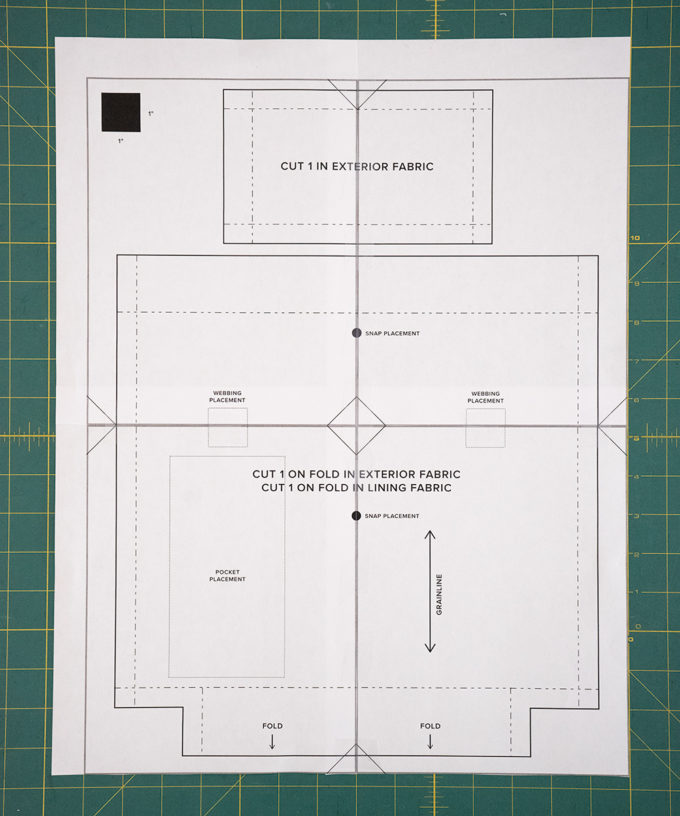
Here is what the pattern should look like when assembled. There are only two pieces to the pattern.
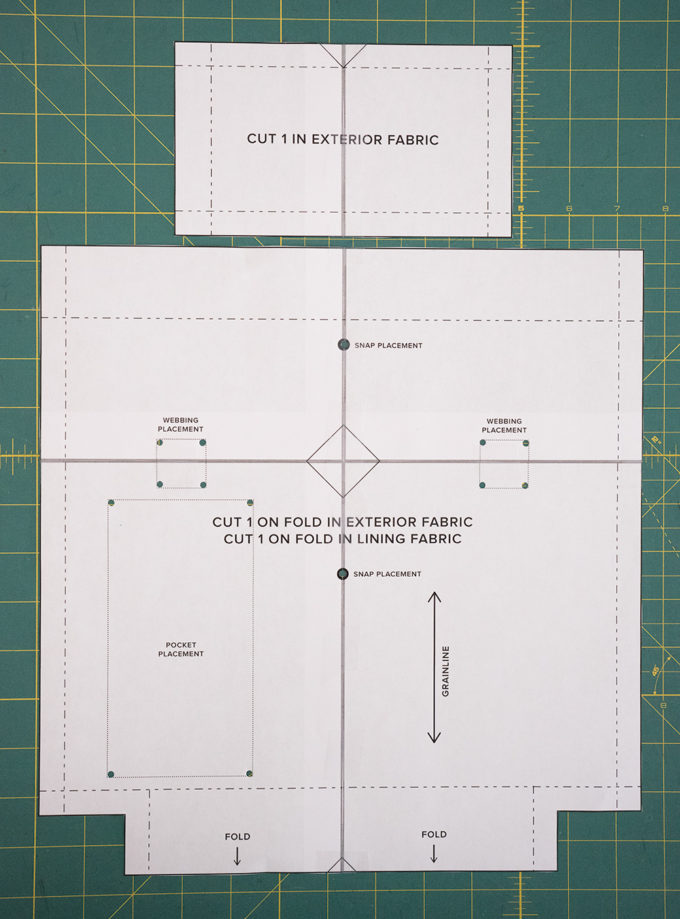
Step 2. Cut out the pattern pieces. I like to punch holes on patterns to make transferring placement markings to fabric easy. From here, cut out your fabric and webbing. Remember that the main tote piece and lining piece should be cut on the fold. If you have minimal fabric based on the material measurements above, be sure to leave enough room on your exterior fabric for the pocket piece after folding.
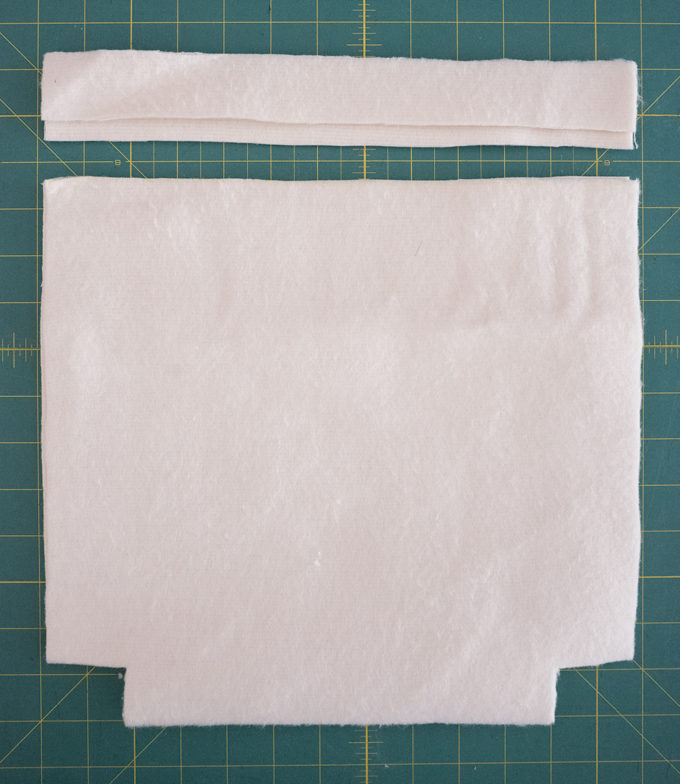
Step 3. The lining should be about 1.5” shorter at the top than the exterior piece. You can either fold the pattern along the dashed line at the top of the main pattern piece before cutting your lining, or trim the tops off after cutting.
Sewing
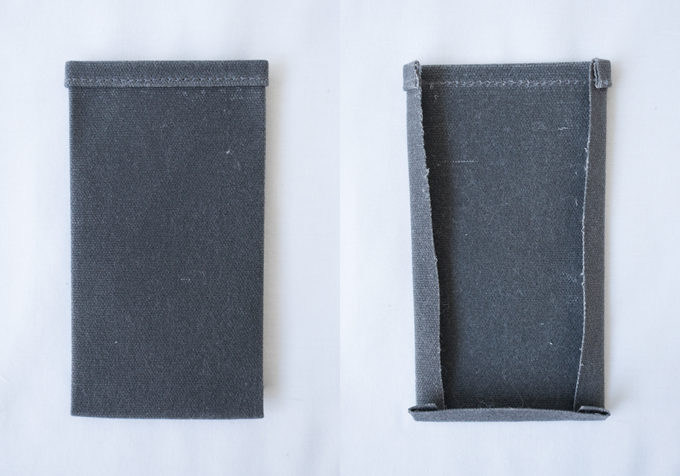
Step 4. There is a small pocket on the front of the tote meant for a small bottle opener. Let’s prep this first.
Fold over and press* flat 3/8” at the top of the pocket to the right or wrong side of the fabric. I chose to hem the top of my pocket to the right side partly because I like how it looks, and since my canvas is so thick, I don’t want my bottle opener to catch on the hem when pulling it out.
Then fold over and press another 3/8” of fabric enclosing the raw edge of the pocket. Top-stitch the layers down from the right side. Lastly, fold over and press flat 1/2” on the sides and bottom of the pocket to the wrong side.
*note, if using waxed canvas like I did, do not use an iron on the canvas or you could end up with a waxy mess on your iron and ironing board. Simply finger press the canvas where I mention “press” throughout the pattern. The wax will help to hold the folds in place.
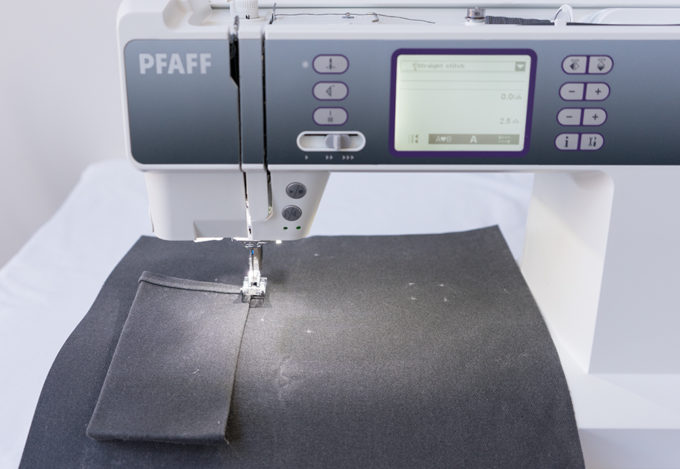
Place the prepared pocket within the pocket placement marks and topstitch the sides and bottom of the pocket in place.
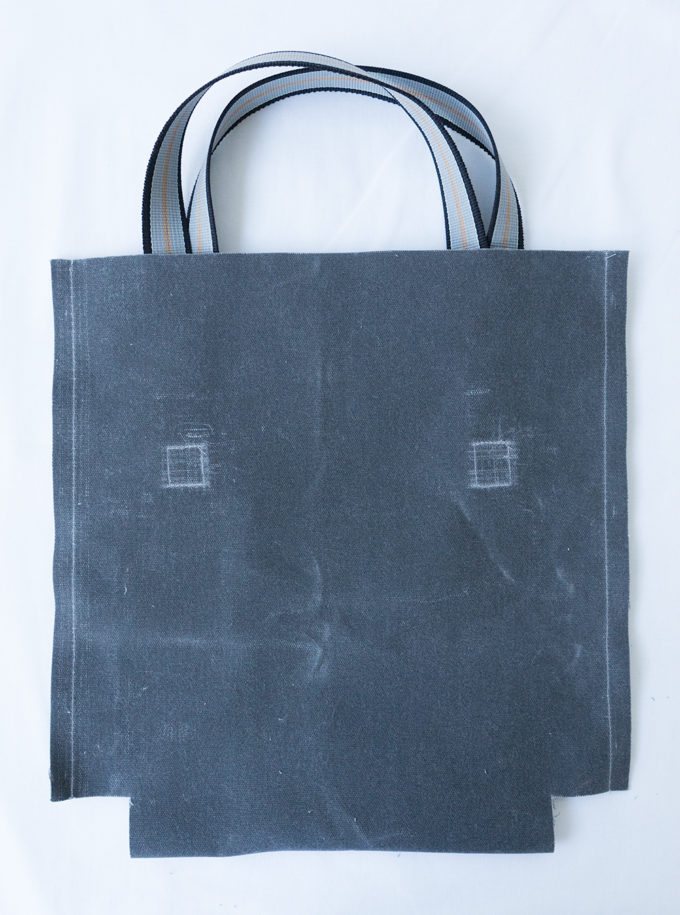
Step 5. Take your two webbing pieces and fold back 1” of the webbing to the wrong side at each end. Then place each end of the webbing within the webbing placement marks and stitch in place. Do this for both sides of the tote.
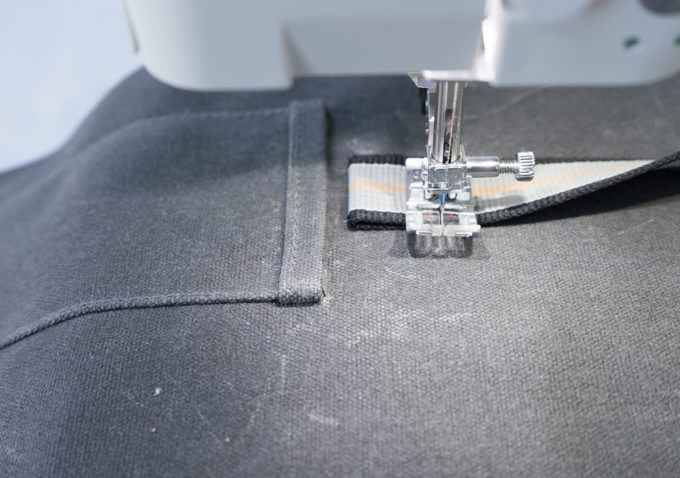
I sewed a 1” square (across the bottom, sides, and top) at the end of each piece of webbing, stitching 5 lines of reinforcement stitches at the top of the square where the most stress will be.
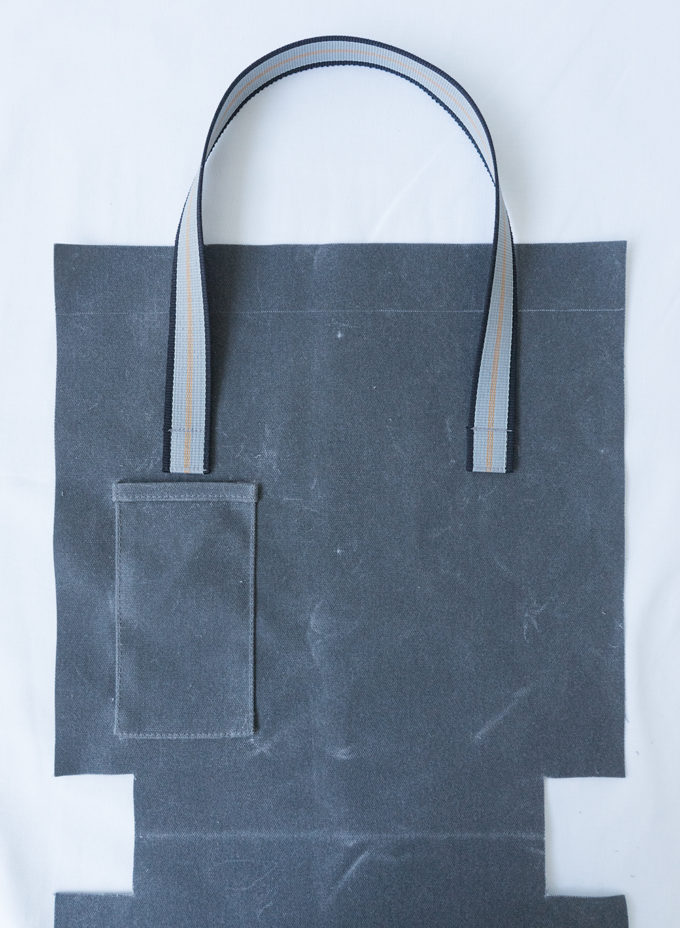
Your project should look something like this at this point.
Step 8. With right sides pinned together, stitch the side seams using 1/2” seam allowance. Press the seams open. (finger press if using waxed canvas).
Step 9. Next we need to sew the seams that form the sides of the tote. With right sides together, match the center of your pressed open side seam with the center of the bottom of the tote. There should be a crease marking the center from when you cut on the fold. Sew the seam using 1/2” seam allowance.
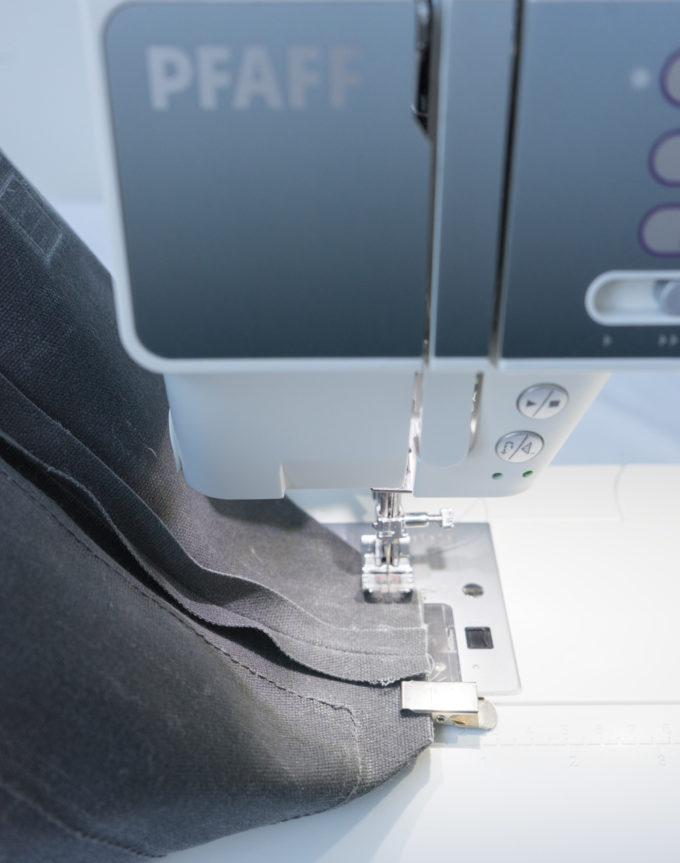
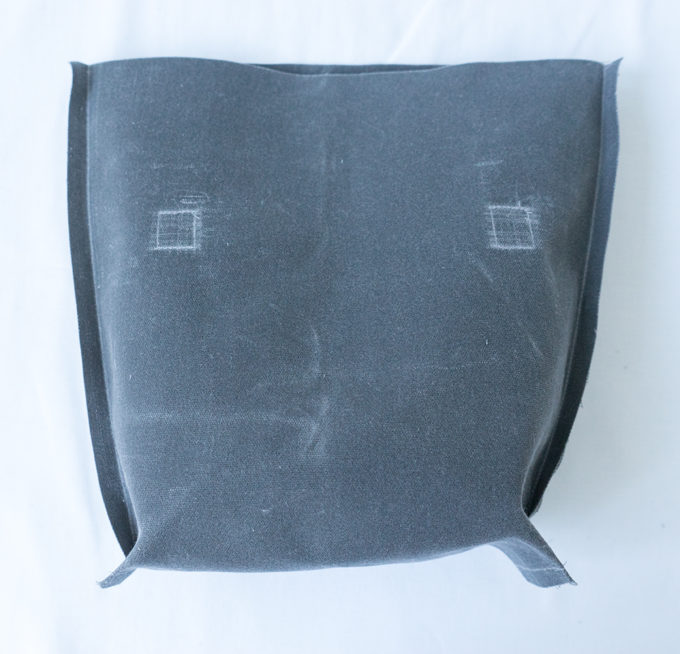
When both sides are complete, your tote should look like this.
Repeat steps 8 and 9 with your lining piece.
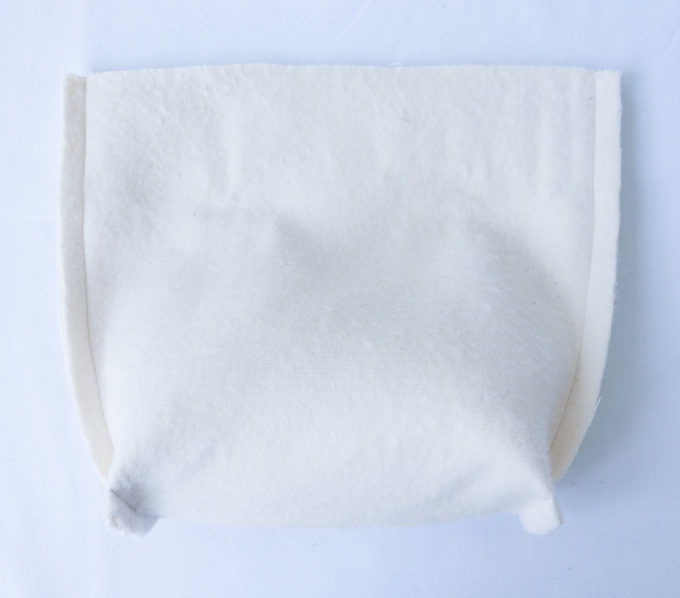
Step 10. Place the lining inside the exterior with wrong sides together. Align side seams.
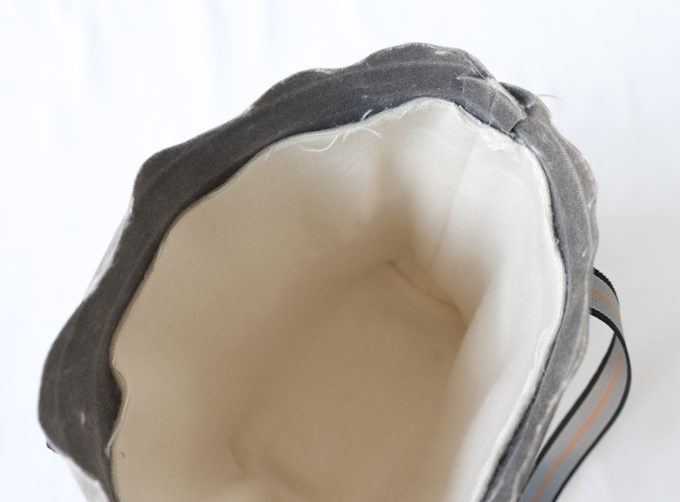
Step11. Fold and press 1/2” seam allowance down all the way around the top of the exterior of the tote. Fold to the inside. Then fold and press down an additional 1” of the exterior covering the raw edge of the lining.
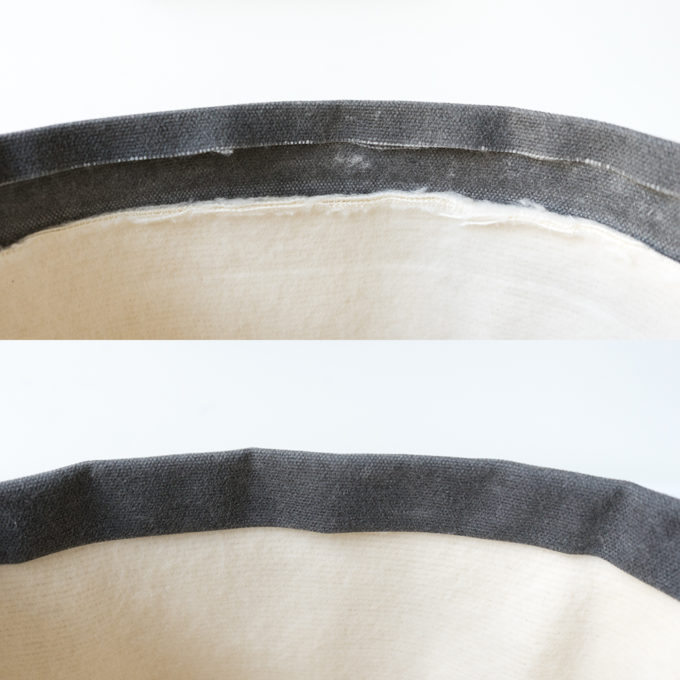
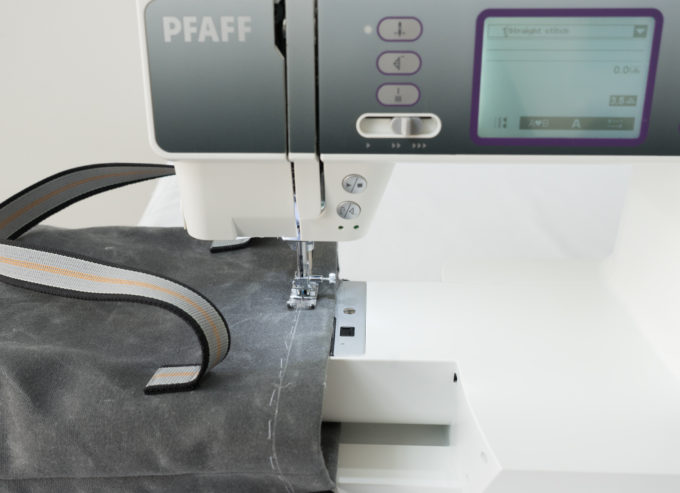
Step 11. Topstitch the folds in place from the right side approximately 3/4” from the top of the tote. I basted the hem in place first, and then marked a line to be sure I caught the edge of the folds on the underside in the stitching.
Step 12. Following the installation instructions for your snaps, insert your first snap at the top of the bag using the snap placement marks. The front (smooth) side of the snap should be on the pocket side of the tote. My snaps require a tool to set each side of the snap.
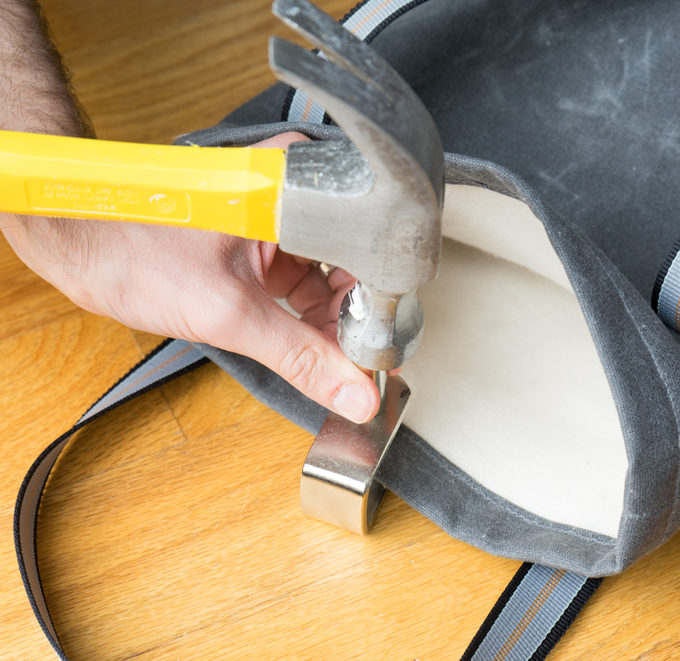
The second snap is optional depending on your fabric and the types of bottles you might cary. The waxed canvas I used is fairly thick and stiff, and using a second snap wasn’t necessary. If your fabric is lighter weight or more flexible, you might want to install a second snap below the first (using the lower snap placement mark) to prevent glass bottles from banging against each other.
Try using your tote with one snap for a while, then add a second if you think it will be helpful.
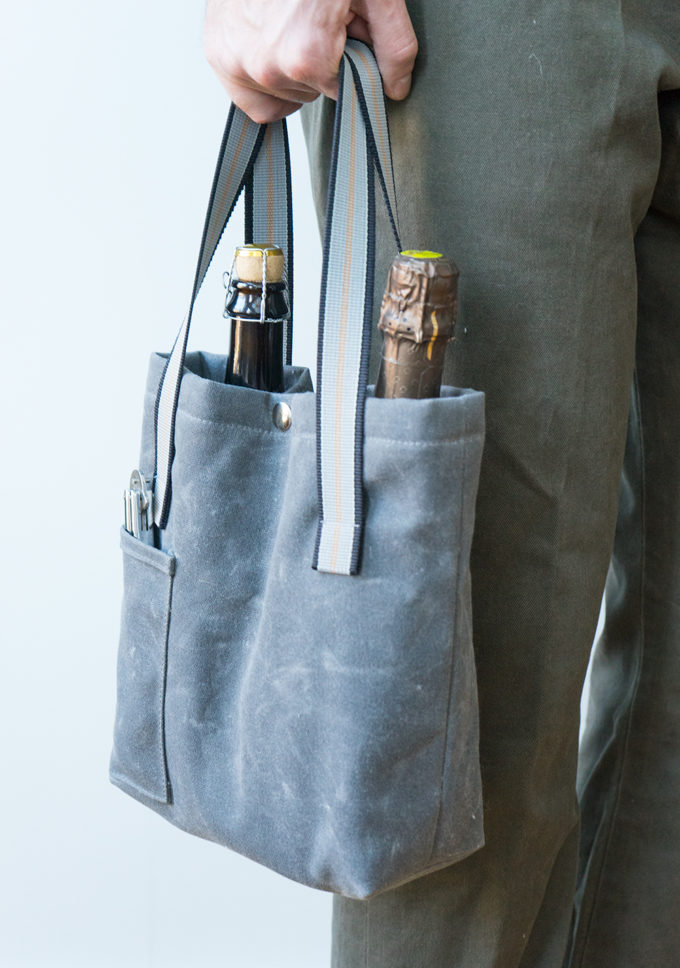
Step 13. Fill with wine, beer, or your favorite beverage and share with your family and/or friends. Glass milk jugs also fit in the tote, so it can double as a farmers’ market bag as well.
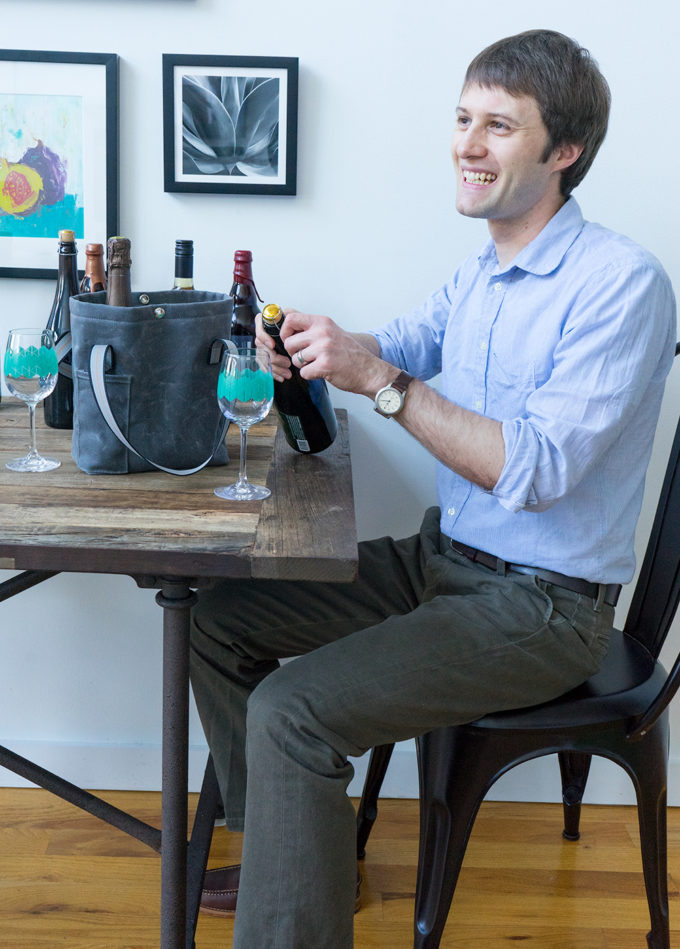
Party at my place 🙂 .


Did you by chance buy your waxed canvas online? I’m looking for something just like that to make a new bag and it is hard to find!
Hi Mariah! I am also using waxed canvas for my next bag. I bought this piece on Etsy (https://www.etsy.com/shop/bagsupplycompany), which is okay for a yard or two. If you need a lot, you might want to contact Fairfield Textile who can sell larger quantities. Look for Martexin Original Wax. They have a cutting fee for small orders, and shipping is usually pretty expensive because it ships on a long roll. Hope that helps!
Bag making is very interesting. I saw your other bags. That’s what I do the most of, though I make clothes like a recycled denim vest recently. Have you worked with stretch fabrics yet? Pullover shirts are a breeze with a nice cotton stretch; slap on a patch pocket and I like to put an Mp3 pocket just above the waist ad off to the side where comfortable.
So I got something recently I want you to see, knowing you have your industrial machine. I got a post machine that makes chain stitches. Check it out at
http://1drv.ms/1TxUsdG
/
Pingback: Handmade Holidays Nov. 17: Gifts for the Dapper Genteleman | Sew Mama Sew | Outstanding sewing, quilting, and needlework tutorials since 2005.
This is a fabulous pattern. I found you on the Sew Mama Sew site. I ordered my waxed canvas at Red Rabbit Mercantile .https://www.redrabbitmercantile.com. I used leather handles – Red Rabbit was happy to put a hardware kit together for me and it arrived quickly. I love the results!
Thank you! Glad you like the pattern.
Hi Taylor,
Found you on www.madalynne.com. This is a fantastic bag. I’ve just recently started working with thicker fabrics like these. Going to need to research this. I love the weathered look it has. So beautiful.
Cheers,
Natalie