Jacket Project Update

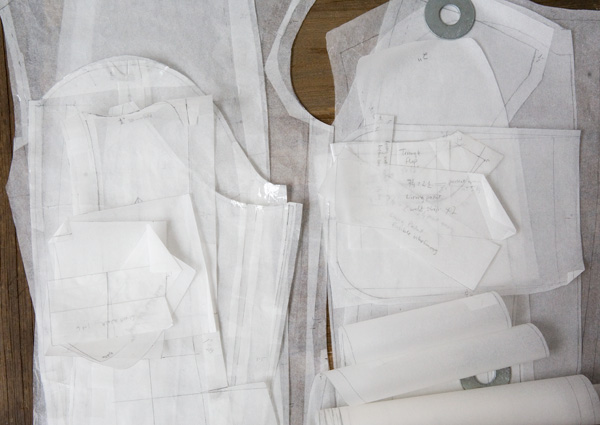
Progress on my jacket project is slow but steady. I finally have all of the pieces drafted. When you take all of the pockets into account, there are a gazillion little pattern pieces for different sized welts, pocket linings, and bits of interfacing for reinforcement. Plus, the lining basically needs a separate pattern to allow for ease and attachment seam allowance.

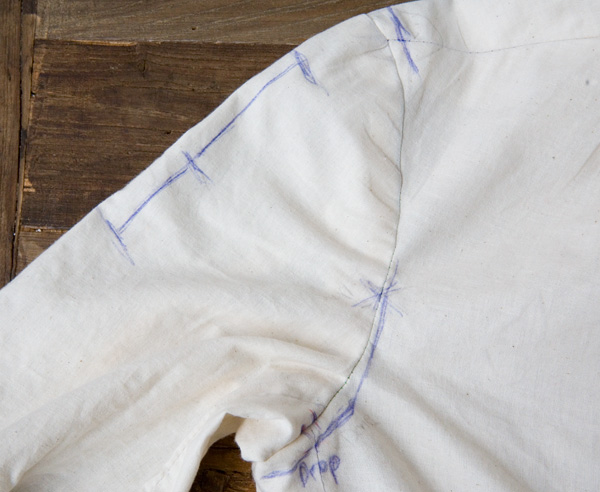
My procedure so far has been to draft a pattern using the method I talked about here. Once I had the front, back, side panel, and two piece sleeve finished, I made a muslin shell without any pockets or details (shown above) to see if the pattern was even close to fitting. The fit was far from perfect, but it was a good place to start. I tend to mark all over my muslins in pen, which makes transferring the adjustments to my paper pattern much easier. While I want a high arm hole, the initial pattern had the arm hole placed too high. The shoulder point also needed to be moved, and the upper arm area needed some additional ease.

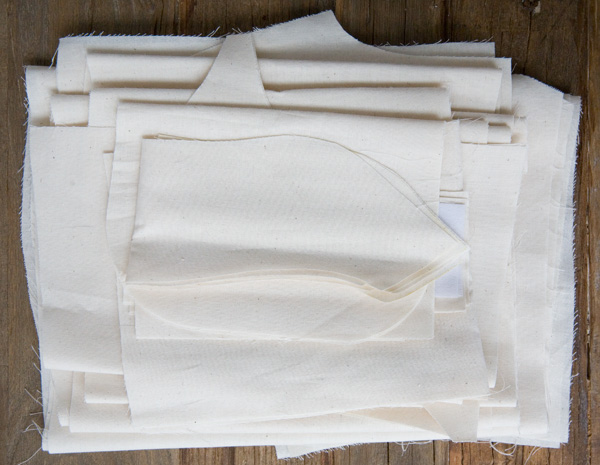
I adjusted my pattern accordingly and started a second muslin. This time around I cut out the entire jacket, lining, and all of the pockets to do a proper test fit and make sure all of the pocket pieces work together. I also want to do a practice run through the lining construction, as this will be my first time dealing with a lining (in clothing at least).
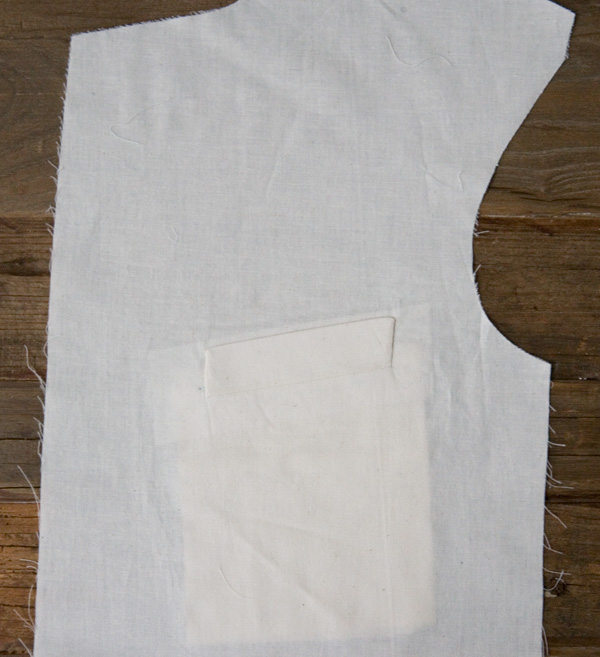
There are lots of firsts for me with this project. The single welt chest pocket is something I’ve never made until this muslin. It will take some practice to get the corners and edges straight and crisp, but overall, this type of pocket didn’t seam that much more difficult than the welt pockets I’ve made for chinos.

I love that this project is really challenging me to learn new techniques and construction methods. This is by far the most complicated garment I’ve ever made.


Hey, I noticed you’re in Nashville. Me too. I’m a straight male, teaching myself to sew to make cycling hats, kites and other stuff. Too bad there aren’t that many resources for dudes.
Hi Pat,
What kind of cycling hats are you making? Sounds like a fun project. Do you have any images of the stuff you are making?
That welt pocket is a thing of beauty! My tailoring professor says the key to crisp corners is to make sure the parallel stitching lines are exactly the same- like, to the stitch. Mine are still pretty rough but getting better! I’m so excited to see this jacket!
Thanks Ginger! Up close it’s not so pretty, but I’ll get there with practice. I’m kind of jealous that you have a tailoring professor 🙂 Formal instruction for this kind of thing would be awesome.
I’ve had great success with the technique in Roberto Cabrera’s mens tailoring book. He makes it very easy and it comes out perfectly. I can send you the instructions if you’d like.
Thank you for the offer. I actually have a copy of that book. I hear there is a new version coming out, which might be interesting to check out. I used a different method here, but might have to try the Cabrera method next time.
“[T]he key to crisp corners is to make sure the parallel stitching lines are exactly the same- like, to the stitch. ”
Perhaps I don’t understand, but the need for parallel stitching lines of the same length refers to the corners of jetted pockets that are placed further down on the jacket. If one line is longer than the other by just a stitch or two, you have the option of taking out one stitch or adding one by threading a hand sewing needle and sewing one stitch.
Breast pockets are constructed with two parallel, but uneven lines of sewing. The top line must be shorter than the lower one to avoid a hole being seen when the pocket is flipped up and sewn to the front.
Sewing crisp corners on the outer pocket is the result of using the right stitch length, thread,and interfacing for the material and sewing at precisely 1/4″ on either side.