Men’s Shirt Pattern and Test Fit
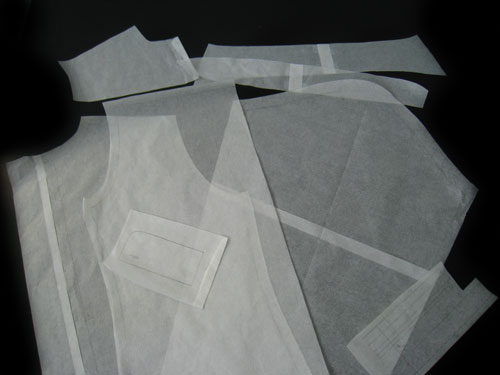
The majority of my men’s shirt pattern is finished. Yay! I ran into quite a few snags during the drafting process, and this pattern took much longer than my jeans pattern to get right. I am still tweaking the shape of the collar a bit, and I need to determine the shape and length of the shirt tails, but thankfully the tough parts are over.

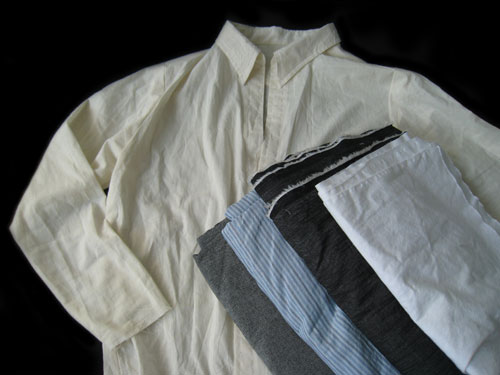
After finishing my sloper and the main pattern pieces, I made a quick muslin version of the shirt to test the fit. I didn’t attach cuffs, plackets, or buttons because I just wanted to make sure that the main body of the shirt fit properly. For the most part I was really happy with the way this test shirt turned out. There is a little extra room throughout my lower torso area below my chest and arms, which will be corrected by curving the side seams inward. My neckline, collar, and collar stand all need to be taken in as well, but these should be fairly easy adjustments. Otherwise, I am almost ready to start on some “real” shirts.
On top of my test shirt below are three different shirtings I plan to use: a gray chambray, a charcoal chambray, a blue striped fabric, and some interfacing. All of the fabric is 100% cotton, including the interfacing, which is actually bleached muslin. Based on David Page Coffin’s recommendation, I’ve decided to use sew-in interfacing for the collar, collar stand, and cuffs rather than fusible interfacing.

Throughout this entire shirt making process, I have been using Coffin’s Shirtmaking book. I would highly recommend this book to anyone interested in learning great construction and fitting techniques. He provides step-by-step, detailed instructions for the most difficult tasks such as constructing and attaching collars, collar bands, and cuffs.
I can’t wait to get started making some shirts that I might actually wear!

