
Olive Overshirt
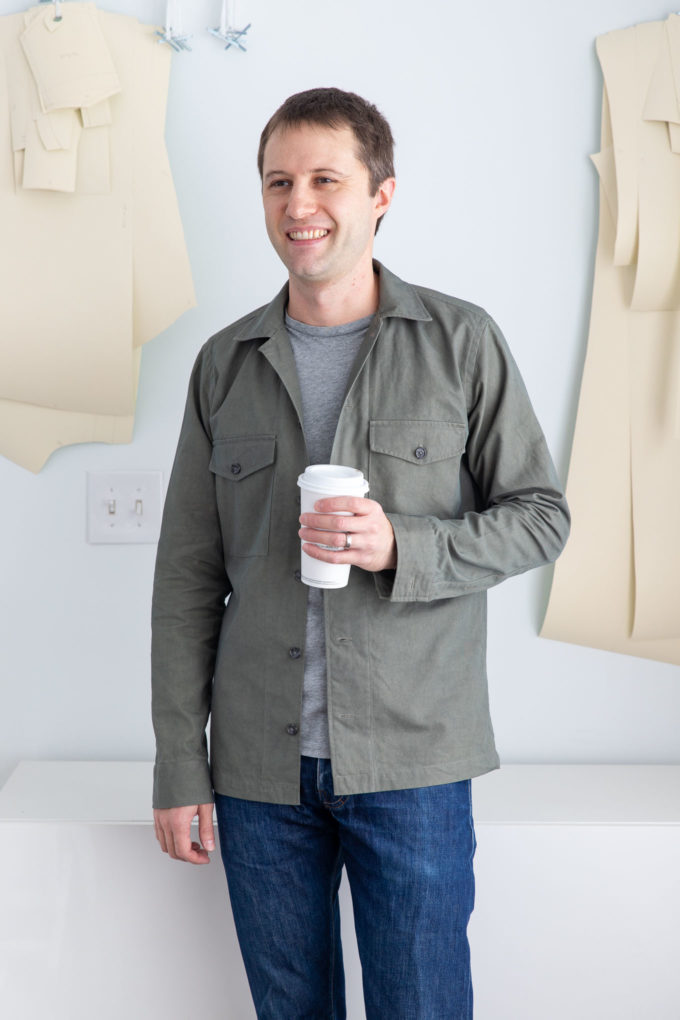
A simple overshirt or “shirt jacket” is a piece that has been missing from my closet for a while. I wanted something I could just throw on for days that are a bit too chilly for a t-shirt, but not yet cold enough for a heavier layer. There is no need to tuck or even button it. It’s perfect for fall and spring, and pretty much goes with all of the other basics I’ve made, jeans, chinos and simple shirts.
The style is based loosely off of the type of shirts US Navy Chief Petty Officers were issued. There are a bunch of different variations on this idea made by lots of ready-to-wear clothing brands. I’m guessing that the originals were most likely made out of wool, and while mine is 100% cotton twill, I love the idea of making this same pattern in a heavy wool some day.
I originally bought the fabric for a pair of pants, but it was a bit too lightweight. It was also a very light shade of khaki, almost cream colored. When I decided the fabric would be better suited for an overshirt, I dyed the fabric a darker khaki color, but that still wasn’t quite dark enough. I ended up dying it a second time using an olive drab dye from Dharma Trading Co. Their fiber reactive dyes are fantastic for cotton and other natural fibers.
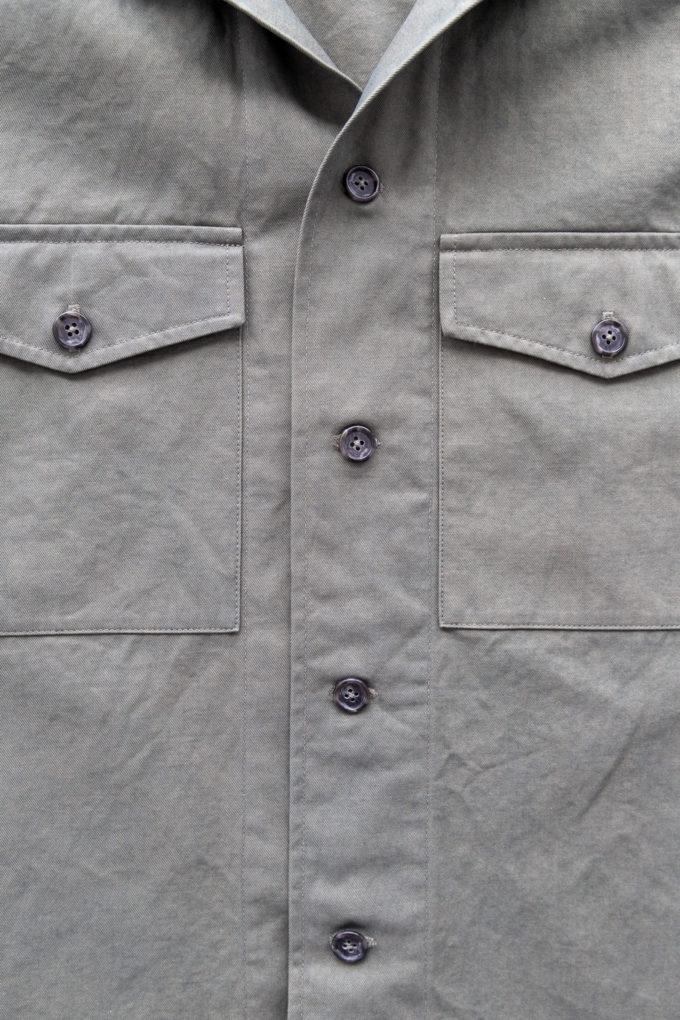
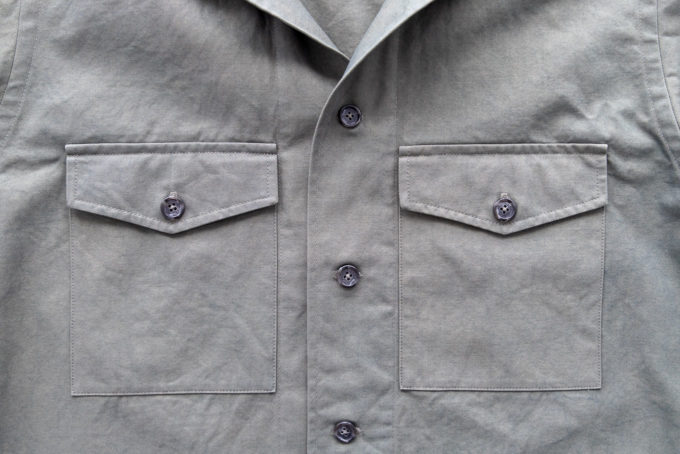
Up close you can see some variance in color with the two different dyes, which I kind of like. It gives the fabric a bit of “depth” if you will.
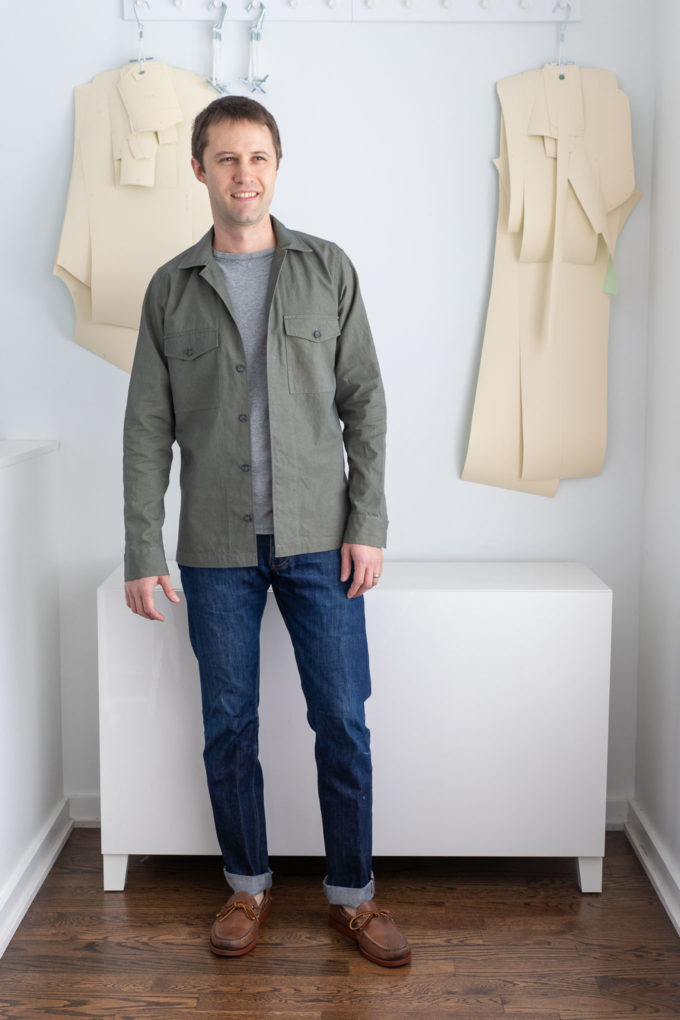
The pattern itself is based off of my regular shirt pattern, but I added a little bit of ease for a roomier fit. I also wanted a flat hem across the bottom rather than the typical shirt hem which is curved and meant to be tucked in.
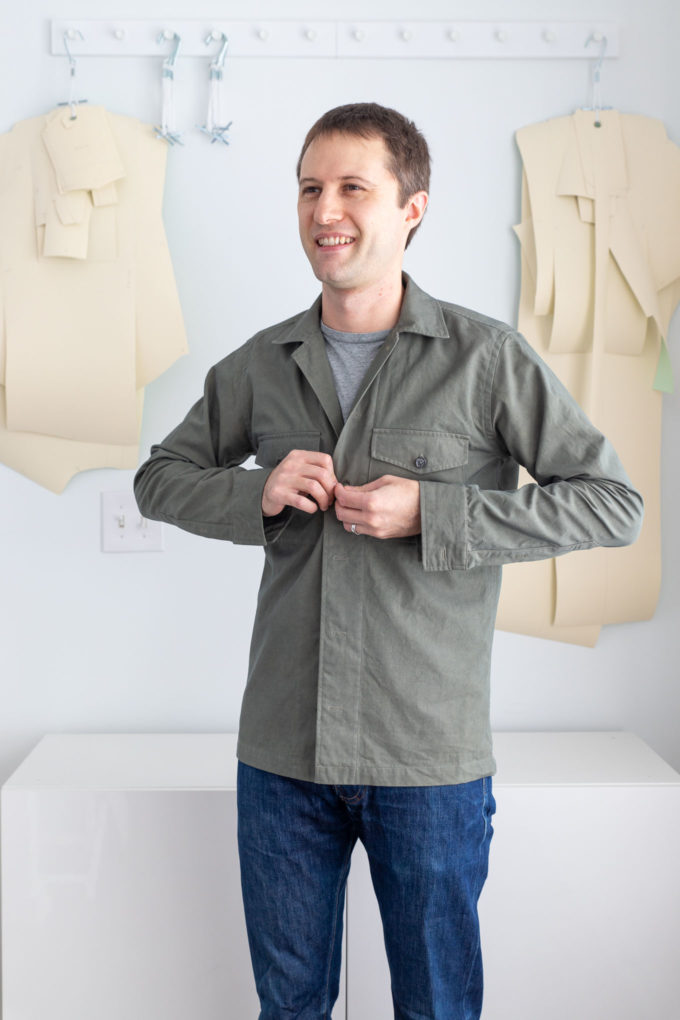
I added a front facing, which is “cut-on” to the pattern and folded to the inside after being finished across the top neckline.
The front pockets are much larger than my regular shirt pocket with flaps to make it feel less “shirt-like” and more like a light jacket.
I drafted a new collar for this project. This kind of garment sometimes has a one piece “camp” style collar rather than a collar and collar stand combo. I added an extra piece of interfacing right where I wanted the collar to fold over in the back and topstitched it to the undercollar. None of the stitching is visible when the collar is folded down. From it’s high point in the back, the extra interfacing curves down toward the neckline allowing the fronts of the collar to spread and lay flat.
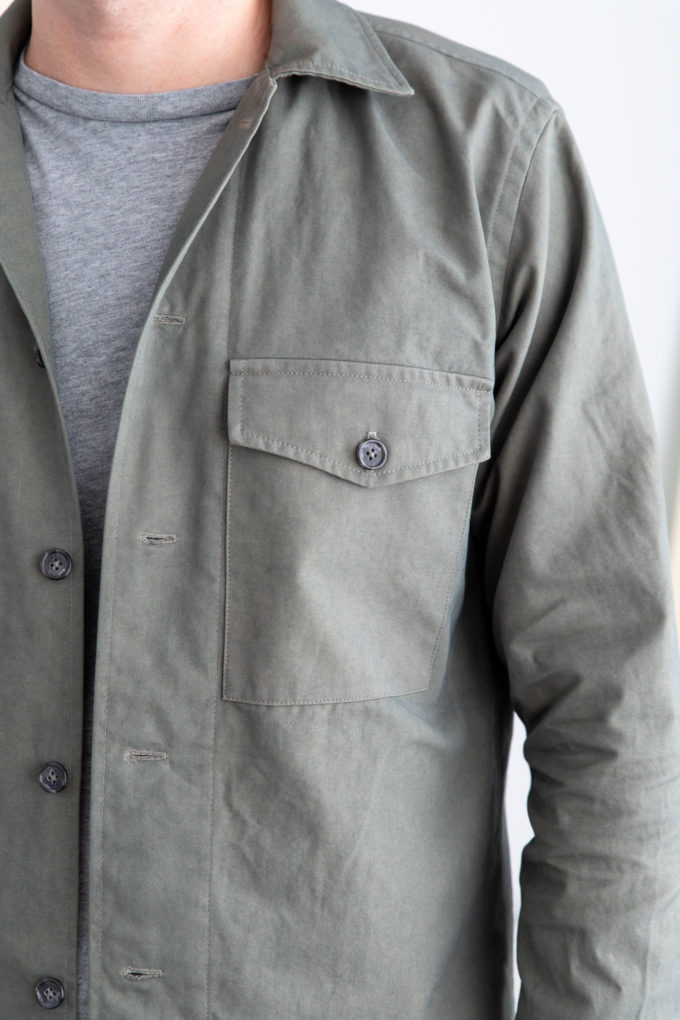
Without a collar stand that would extend all the way to center fronts, this kind of collar creates an awkward spot on the neckline where most of the neck seam allowance gets pushed up into the one-piece collar, but there is a small portion of the neckline seam allowance at the left and right fronts that needs to be pushed down into the facing.
The solution of course is to make a clip into the neck seam allowance to get the allowances to go in different directions. I hate making these kinds of clips. On jean jackets, which have the same type of one-piece collar, the clip is sometimes right at the front edge of the collar so that the collar sort of “wraps” around the edges of the neck seam allowance.
I’ve tried this before and didn’t love the results. If the top collar shifts by even a tiny amount when topstitching it closed, the front edges of the collar look off.

I decided to make the clip in the middle of my facing so that it wasn’t right at the front edge of the collar, but still hidden under the facing and not too visible on the outside of the garment.
With the one piece collar, I only used one yoke instead of the two yokes normally found on shirts. All seams are flat felled finished.
Overall I’m really happy with the way this turned out. So happy that I made a second one exactly the same out of piece of dark charcoal cotton twill I had in my stash.
Looks terrific! Good tip about handling this type of collar too.
Looks great!
Thanks!
Thank you!
The dye job on your fabric looks great and that tip on interfacing the undercollar is good.
Nice to see you’re posting again!
Thank you! I love your Safari Jacket.
Your attention to detail is what makes this another beautiful custom garment.
Thank you Tammy. I appreciate that.
I love it. Are you going to release a pattern for this one?